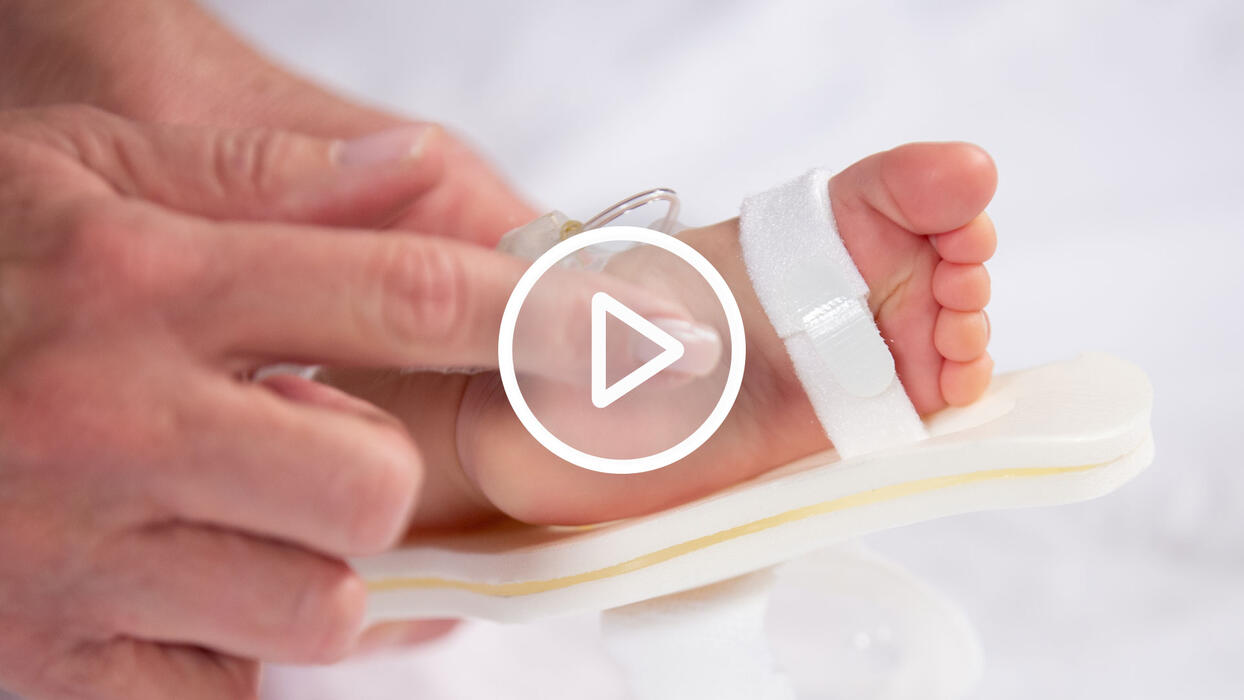
The ergonomic design of the TLC Foot Splint, for nonambulatory infants approximately four months to one year in age, fits on either the right or left foot. The unique shape of the device corresponds with the natural anatomy of the ankle and can be applied either medially or laterally. A Toe Strap Note is included with each TLC Foot Splint to ensure proper placement and fit.
Contact us to learn more.
Refer to your Badge Buddy or TLC product packaging to select the correct size TLC Foot Splint. Each splint comes individually packaged and includes an insert with illustrated step-by-step instructions for your convenience.
The Small TLC Foot Splint is ergonomically designed for non-ambulatory infants when a foot site is required and can be applied on the lateral or medial aspect of either leg, on the opposite side of the IV placement.
Left lateral
Left medial
Right lateral
Right medial
Secure the IV site according to your hospital’s policies and procedures. The TLC Foot Splint can be applied before or after the IV insertion.
Remove the TLC Foot Splint from the packaging and unroll the straps. Hold on to the Toe Strap Note to assist with applying the TLC Foot Splint securely. Identify the concave surface of the splint. The concave surface should be facing upward and will make contact with the patient’s skin. The natural curve of the infant's heel should line up with the curve at the outer edge of the TLC Foot Splint.
Note that on the Small TLC Foot Splint each of the two strap anchor slots has two positions. You will need to reposition the straps before application. As you take the splint from the package determine which end of the splint will be fit to the toe and which end will fit to the lower leg, then slide both straps to the top slot position before applying the splint.
Slide the top strap under IV tubing and wrap it completely around the lower leg and the splint. Secure tubing at the lower leg with the final pass of the strap. Lightly tension this strap as it wraps around the back of the splint. Close with Velcro tab. Wrap the bottom strap over the base of the toes and slip the free end through the opening in the splint near the toes. It is imperative that the toe strap is secured through this opening to anchor the foot to the board. Refer to the Toe Strap Note included in the TLC Foot Splint packaging for more information.
Slip the strap under the loop of tubing at the toe. Lightly tension the strap as it wraps around the back of the splint. Close with Velcro tab. Slip one finger beneath each strap to ensure the fabric is not so tight that it impedes circulation or infusion of IV fluids. Turn the ankle to view the see-through openings and touch the foot and underside of the ankle. It should feel soft, warm, and dry.
Touch, Look, and Compare with the opposite foot and ankle. Pair with an I.V. House UltraDome or I.V. House UltraDressing to protect the IV catheter from bumps and snags. Replace the TLC Foot Splint each time a new IV is inserted.
No other footboard offers the 360-degree visibility of the I.V. House TLC Splint. The see-through openings allow nurses to touch and compare the underside of the extremity, making it easier to avoid complications. The TLC Splint ergonomically supports the foot and ankle and makes it easy to Touch, Look, and Compare the underside of the extremity to prevent injury.
To order samples of the TLC Foot Splint, visit ivhouse.com.
Product series
- TLC Foot Splint
