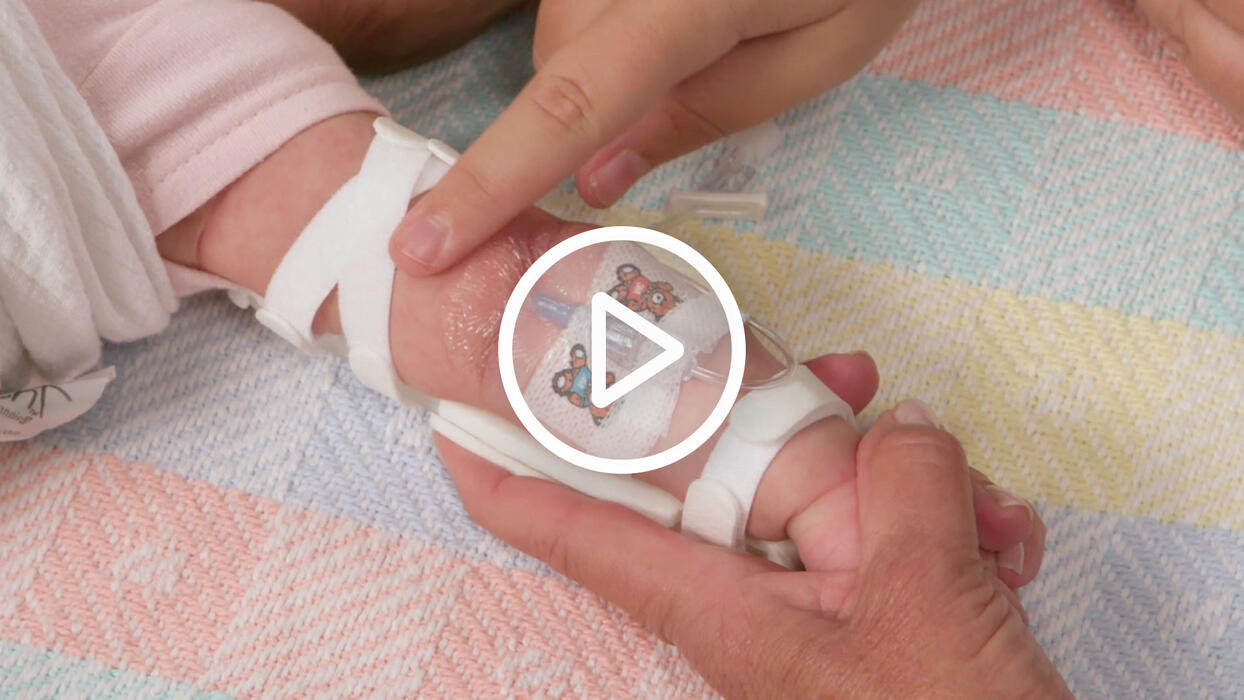
The Extra-Small, Small, Medium, and Large TLC Elbow Splint armboards are available with and without straps, and are designed to stabilize the joint when an antecubital site is required in pediatric patients. This video shows proper application of the device.
Contact Us to learn more.
Although not ideal, the antecubital space is often used as an IV insertion site in emergency situations. The TLC Elbow Splint is ergonomically designed to fit the natural shape of the elbow joint while increasing access for easier assessments, and is available with or without straps. This video will demonstrate the application of both products.
Refer to your Badge Buddy or TLC product packaging to select the correct size TLC Elbow Splint. Each splint comes individually packaged and includes an insert with illustrated step-by-step instructions for your convenience.
Secure the IV site according to your hospital's policies and procedures. The TLC Elbow Splint can be applied before or after IV insertion and can be used on either arm.
Remove the TLC Elbow Splint from the packaging and unroll the straps. Identify the concave surface of the splint. The concave surface will make contact with the patient's skin. The removable orientation label indicates proper placement. Remove the orientation label before applying the splint.
Place the splint under the patient's arm with the narrow end of the splint toward the forearm and the wide end toward the upper arm. The point of the elbow should align with the center opening. We recommend a thumbs-up application whenever possible.
The straps will come pre-attached on the right side of the splint. First, secure the strap at the forearm. Thread the end with Velcro through the slot on the opposite side of the splint. Pull the tab through the slot. Fold the strap back around the outer edge of the splint onto itself and secure with Velcro.
Repeat with the other two straps, securing with Velcro. Slip one finger beneath each strap to ensure the fabric is not so tight that it impedes circulation or infusion of IV fluids.
If the elbow strap obscures the catheter insertion site, consider a crisscross strap configuration instead. Thread the upper arm strap through the elbow slot, and the elbow strap through the upper arm slot. The straps will crisscross when applied threaded this way, and will allow for easy visual inspection of the IV insertion site.
Protect the catheter and loop of tubing with an I.V. House UltraDressing or I.V. House UltraDome.
When using the TLC Elbow Splint without straps, apply anchor tape strips to the foam padding on the splint at the narrow end for the forearm, one down each side of the splint, and one along the wide end at the upper arm. Do not cover the opening on the back side of the splint with tape. Covering the openings will obstruct the view of the elbow during assessments.
Place the splint under the patient's elbow with the point of the elbow joint landing in the widest part of the opening in the device. The removable orientation label indicates proper placement. Remove the orientation label before applying the splint.
Secure the splint with tape. Fold one end of your tape strap under to create a tab for easy removal. Place the strip of tape across the forearm and secure at both ends to the anchor strip on the narrow end of the splint.
Repeat above the elbow using double-backed tape to prevent epidermal stripping. A third strap may be applied at the upper arm if needed.
Use with the I.V. House UltraDome or I.V. House UltraDressing to protect the catheter and loop of tubing. Check the IV insertion site hourly for redness, swelling, and tenderness.
Touch, Look, and Compare the IV site with the opposite elbow and arm. Replace the TLC Elbow Splint each time a new IV is inserted.
No other armboard offers the 360-degree visibility of the I.V. House TLC Splint. The see-through openings allow nurses to touch and compare the underside of the extremity, making it easier to avoid complications.
The TLC Splint ergonomically supports the area of flexion and makes it easy to Touch, Look, and Compare the underside of the extremity to prevent injury.
To order samples of the TLC Elbow Splint, visit ivhouse.com.
Product series
- TLC Elbow Splint with Straps
- TLC Elbow Splint (No Straps)
